
Yesterday I posted the difference between an XML sitemap and a sitemap page that we often get to see online on blogs and websites. Today lets take a close look that how exactly can we make XML Sitemap for our blog or website.
When we would end up making the sitemap, we would get a file, that would include all the links of our blog posts. Though we could get the sitemap in various file formats once we are done making it, but there are 2 specific types that we would pay attention to in this posts and they are XML Sitemap and an HTML Sitemap (an HTML page with all the blog posts links).
Making An XML Sitemap? (Only For Self Hosted Blogs/Website where you can access the root directory later on)
1- Go to Xml-Sitemaps.
2- Choose the settings as shown in the picture below.
Note that the setting is not a kind of hard and fast rule. Simply use your common sense. I choose the frequency to 'daily' as we update this blog on a daily basis. So choose it according to your posting frequency.
You may like to read:
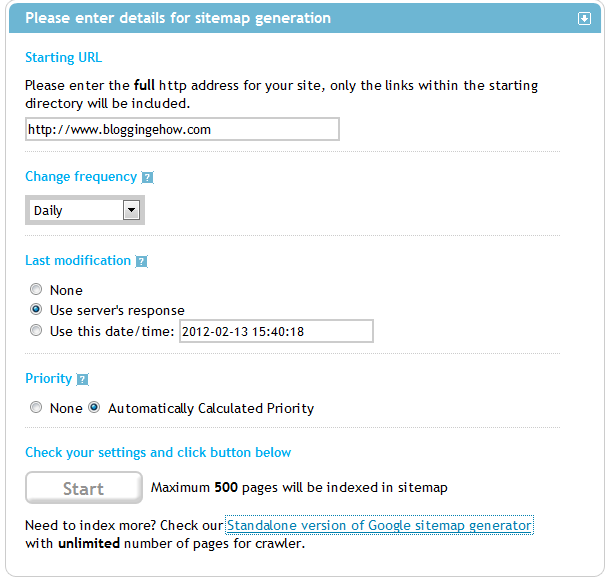
3- Hit 'Start' Now.
After couple of minutes (depending upon the content that your blog has), you would be handed over with the sitemap. There would be couple of options available in which you can export the sitemap. For this part, we would go for XML Sitemap.
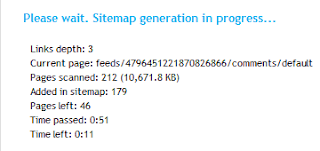
While it would be working out to make the sitemap, you would see some of the following stuff coming on the screen.
4- Download The XML Sitemap
Ok, so once your sitemap generation process is done, simply download your XML sitemap (link comes up on the same page) and upload it to your blog's root directory.
This can only be done on the self hosted blogs (wordpress or blogger). When you own a hosting (say your blog is hosted at Hostgator.com servers) then you get the rights to upload any stuff to your root (main) directory.
So in that case, once you upload it to the root, your would then be able to access your .xml sitemap by (example : http://www.bloggingehow.com/sitemap.xml)
This cant be done on blogs that are hosted on Blogger servers as they don't allow us to access the servers or the root directory of our blogs. So in that case, we still can use the sitemap that we made but with a different format. This time we would download the HTML version of our sitemap that we created.
Making An HTML Sitemap (For Blogger Hosted Blogs that cant access the blog's root directory)
Now simply scroll down to the same page (that showed up after the sitemap generation process was over). There would be a 'Download Sitemap' section as shown in the picture below.
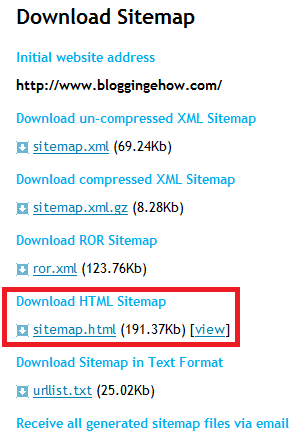
Download the 'HTML Sitemap' version. This download file would be a simple .html page that would contain the dofollow links of all your blog posts.
As you cant access your root directory, you could simply publish this new page to Blogger blog.
How to do that?
Its simple. Open up this new .html page and copy the entire content of the page (Ctrl + A). Now open up Blogger interface and click 'New post' as you would normally do when to write out a new post.
Now paste this entire .html page into the 'Edit HTML' section of the post editor.
Thats pretty much it. Now save the posts and publish it. BUT make sure that you set the 'publishing timings' of the post to couple of years back so that it doesn't show up on the first page of your blog.
The HTML Sitemap would be something like the following picture below.

Now What?
So yeah, thats all! Hope that was helpful. Though we discussed one part of the story today. We just uploaded the sitemap to our blog. In the next post, i would try to show up the easy steps by which you could submit your XML Sitemap to Search engines so that they get to know about your content too.