

Hey, guys today I have quite an interesting post for you. You would have noticed my signature below my every post. Isn't that cool?
Adding a signature below every post is fairly easy. There would be two steps we will follow. First, the making of the signature image then adding it to the blog post. So let's get started.
Step 1:
Go to Mylivesignature where you will make the signature. Click on the page 'Start Now'

Now click 'Using the signature creation wizard'. Though you can use the other options to make the signature but this is the fastest.

Now enter your name that you want it to appear as a signature. Next, choose your font style followed by font size. I recommend keeping the size to 1-3 as that suites most of the blog templates. Then click 'next'.
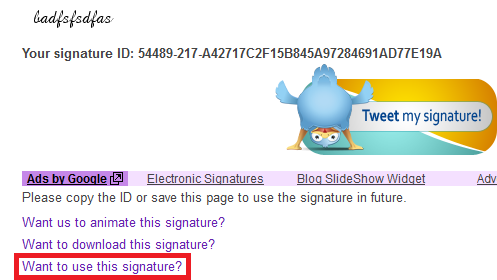
Now make the background transparent. And choose the font color. Finally, when you would be done with these customizations, a page would appear like this. Click 'Want to use this signature?'
Now click on generate HTML code:

Next it would give you two options to use this signature image. Either in the forums or a general HTML code. Choose HTML. Now we will be adding this code to our blogger Edit HTML option.
Step 2:

Go to Design >> Edit HTML and tick the check box. Now search for the following code:
<div class='post-footer-line post-footer-line-1'/>
Immediately below the above code paste your signature code that you copied earlier as follows.
<b:if cond='data:blog.pageType == "item"'>
Your Signature Code Here
</b:if>
The extra code we added is to make sure that the signature would only appear in the post pages and not on the homepage.

Now click Save template.
Thats all.